One of the most crucial components of a home theatre is the soundbar.It provides us with the crisp, bass-boosted, and soothing sound quality that is a must for any home theatre. Soundbars are typically placed on the floor or on the wall alongside the TV, but what if we could mount a soundbar to the TV?
Wouldn’t that take the look of our room to the next level? Now,you will try to get your head around that: how to mount a Samsung soundbar to the TV? Don’t worry as we’re going to teach you how you can do this with ease just by following some of the easiest steps.
Mounting your Samsung soundbar to the TV isn’t that difficult if you pay attention to the steps that we’re going to tell you about. Also, the method that we’re going to tell you about in this article will work for other modals of soundbars as well.
So, don’t worry if you’re using the soundbar of any other brand. So that you can fully comprehend everything, please make sure to read this post from beginning to end.
How to Mount Samsung Soundbar to TV?
Without making you wait more, let’s head over to the topic.
Get your eyes on a universal soundbar-to-TV bracket.
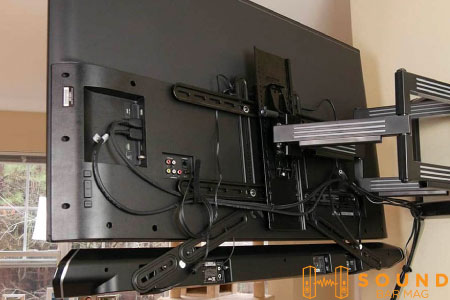
- Remove the television from the wall if it is mounted.
- Remove the TV mount (if necessary) and squint to determine where to put the bracket, which will depend on the mount.
- install the soundbar bracket and TV wall mount bracket to the TV.
- Remount the TV on the wall after making sure your soundbar fits the brackets.
- Test the soundbar after mounting it to the bracket.
You must complete these steps in order to install your Samsung soundbar to your TV.We will tell you the process for doing each of the things mentioned in the list above.
It’s not difficult to mount a soundbar to a TV, but it’s crucial to make sure you are doing everything the right way from the start.
Make sure the soundbar-to-TV bracket fits your components adequately before spending money on it. After doing it, you are prepared to proceed with the procedure.
Step 1: Get Your Eyes on Universal Soundbar-to-TV Bracket
Electronics shops, Walmart, and large merchants like Amazon all have universal soundbar to TV mounting brackets. Additionally, there are soundbar-to-TV brackets available that are created expressly for specific items, although they are typically pricey and unneeded.
For that reason, you can get the Mounting Dream Soundbar Mount. This mounting bracket works with most of the types of soundbars. Even if you’re not using a Samsung soundbar, it’ll still be able to help you. This is crucial if your TV will also have a soundbar installed on it and be mounted on a wall.
Step 2: Remove TV from the Wall if it is Mounted
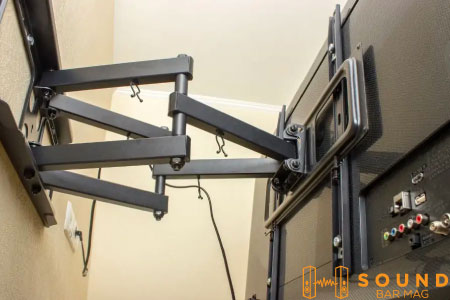
When you wish to install a soundbar, your TV may already be mounted. If this is the case, don’t panic. It could be difficult to remove it and fix the soundbar, but if you do it right the first time, you won’t have to do it again.You may skip this step if your TV is not mounted.
The location of the soundbar mounting bracket depends on where the wall mount will be placed, so if you have a new TV that hasn’t been installed yet and you need to affix it to the wall during this installation, go ahead and set up the wall-mounting bracket.
Step 3: Remove The TV Mount & Scout Out Where the Bracket Should Go
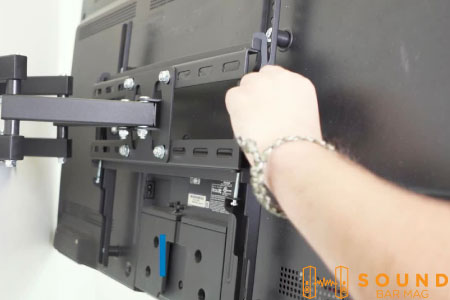
Your TV may already include a bracket for wall installation, as was previously noted. It’s alright. It is essential to determine how these brackets will fit together since the soundbar mounting bracket has to utilise the same holes as the wall mounting bracket.
Putting the TV wall mount where it needs to be for the TV to be correctly installed on the wall should be simple to do while the TV is lying flat.You must test the wall mount on the wall if you haven’t previously, in order to choose the proper holes for your TV mount.
To visually decide which holes on the soundbar bracket you’ll be utilising based on where the soundbar needs to hang, place the soundbar bracket on top of the wall mounting bracket next to it.
You’ll probably need to have the soundbar nearby in order to confirm. If you have painter’s tape or anything else you can use to mark the holes, do so. Make sure there is adequate room between the top of the soundbar and the bottom of the TV before attempting to utilise any of the buttons on its top.
Step 4: Connect the TV to the soundbar & TV Wall Mount Brackets
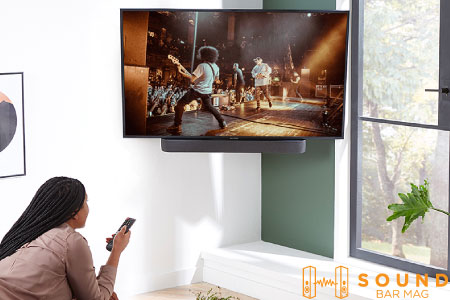
At this point, it ought to be simple to mount the soundbar bracket. Use the holes you’ve designated to position everything correctly, and then attach everything using the mounts and the bracket’s included hardware.
One thing to keep in mind: if the original screws are no longer long enough, you might need to get some new ones from the hardware shop.
A single bolt thread might run out of screw depth if it is used to attach the soundbar bracket, the wall mount, and the back of the TV.You don’t want to cut corners on anything like this at this point. Your television is fastened to the wall by these screws.
Step 5: Remount TV on Wall After Making Sure Your Soundbar Fits The Brackets
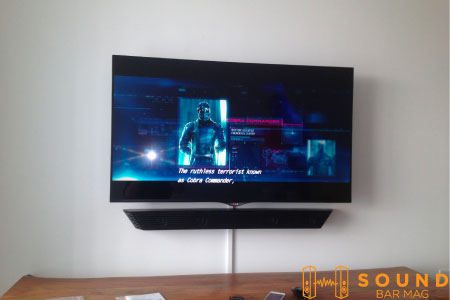
Following the installation of the brackets, verify that the soundbar will fit. If it does, you are prepared to put the TV on the wall once more without the soundbar. This is done to avoid adding weight or increasing the danger of losing the two items when remounting the TV.
Step 6: Test the Soundbar After Mounting it to the Bracket
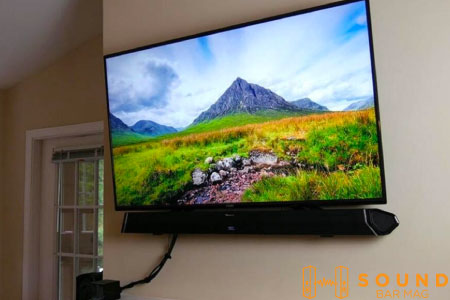
Now that the bracket is complete, you can finally attach your soundbar to it. Use the included hardware to secure the soundbar in place. You may now test the gadget by connecting it to a TV or other media device through HDMI/HDMI Arc, Optical, RCA, or Bluetooth.
Make sure there is space for the buttons on the top of the soundbar if it has any. This is one thing to watch out for.You might need to remove the TV from the wall and rearrange the mounting brackets if there isn’t enough room.
That’s all you have to do to mount a Samsung soundbar to your TV. Ensure you follow the steps exactly the way they’re mentioned.
Conclusion
So now you know how to mount your Samsung soundbar to a TV. We’ve mentioned the easiest method so that any of you can follow this. Also, we’ve tried our best to explain everything using simple words. But still, if there is something we can help you with, please let us know in the comment section.
Read also: Best Settings for Samsung Sound bar

Mia Evelyn is a soundbar specialist and she love to test and review different soundbar brands. She shares her neutral and in-depth reviews through the Soundbar Mag.